Cleaning your air fryer regularly is key to keeping it in great working condition and ensuring your food tastes fresh and doesn’t carry over any previous cooking odors or residues. Here’s a step-by-step guide with tips to clean your air fryer thoroughly:
1. Unplug and Cool Down
Always unplug your air fryer before cleaning it.
Let the air fryer cool down completely. This usually takes about 20-30 minutes.
2. Remove the Basket and Tray
Most air fryers have a removable basket, tray, or pan that holds the food.
Remove the basket and any trays inside. These can usually be washed separately.
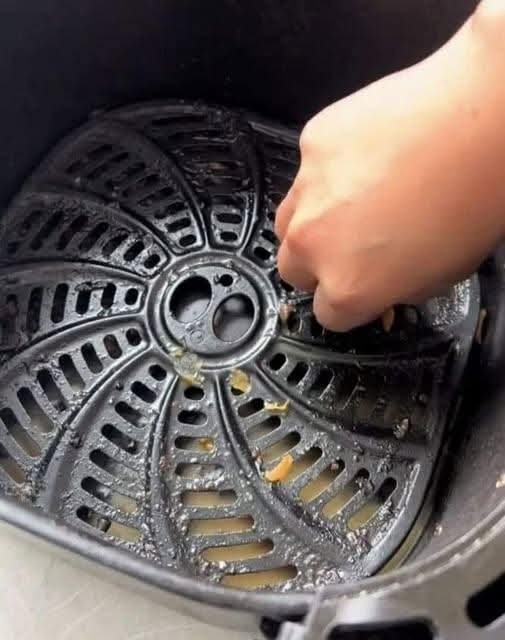
3. Wash the Basket and Tray
Soak them in warm, soapy water for a few minutes to loosen up any grease or food debris. Use a soft sponge to scrub the surfaces, as harsh abrasives can damage the non-stick coating.
For stubborn grease, you can use a paste of baking soda and water to scrub away residue. Apply it to the basket, let it sit for 10-15 minutes, then scrub it off.
If the basket is dishwasher-safe, you can place it in the dishwasher. Check your manufacturer’s instructions to be sure.
4. Clean the Interior
Use a damp cloth or sponge with mild dish soap to wipe down the interior of the air fryer.
Don’t submerge the air fryer in water—the main unit should never get wet.
For tough spots or grease splatters, you can use a soft brush (like a toothbrush) to scrub gently.
5. Clean the Heating Element
Turn the air fryer upside down and inspect the heating element (typically located at the top of the unit).
Use a soft brush or a damp cloth to wipe away any food or grease buildup. Avoid harsh cleaning tools that could damage the heating coil.
Some people also use a can of compressed air to blow away dust or debris from the heating element.
6. Clean the Exterior
Wipe the outside of the air fryer with a damp cloth. For tougher stains, a mild detergent mixed with water will do the job.
Dry thoroughly with a dry cloth to avoid leaving streaks or water spots.
7. Check for Any Odor
If your air fryer has developed any unpleasant smells, you can place a slice of lemon or a small dish of white vinegar inside and run the air fryer for about 5-10 minutes at 350°F. This will help neutralize odors.
8. Dry Everything Properly
Make sure all parts, especially the basket and tray, are completely dry before reassembling the air fryer.
Let them air dry or wipe them down with a dry towel.
Extra Tips:
Avoid abrasive cleaners or harsh chemicals that could damage the non-stick coating or internal components.
Regularly check the vent holes in your air fryer and use a soft brush to keep them clear of debris.
If you use a lot of greasy foods in your air fryer, clean it more often to avoid buildup that can impact performance or taste.
Deep Cleaning Every Few Weeks:
If your air fryer sees heavy use, it’s a good idea to give it a deeper clean every few weeks. This includes cleaning the heating element more thoroughly, checking for grease buildup in the venting area, and replacing the air filter (if your model has one).
Cleaning your air fryer is simple once you get the hang of it and will help prolong its lifespan and improve the quality of your cooking. Let me know if you have any specific model questions or need more details on anything!